----
EASY-TO-MAKE
'A'-LINE SKIRT
MARKING AND CUTTING PATCH POCKETS
Click here if you want scalloped pockets
|
Whilst every attempt has been made to ensure that the information on this site is accurate, no responsibility can be accepted for errors. You follow these instructions at your own risk. |
You should have two folded triangles which were put aside when you were cutting out the material.
 |
Take one of the triangles without unfolding it and mark it out as shown. |
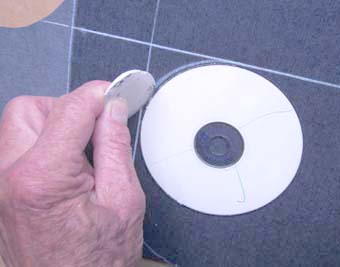 |
For the curves, draw around a suitable curved object, such as a CD. |
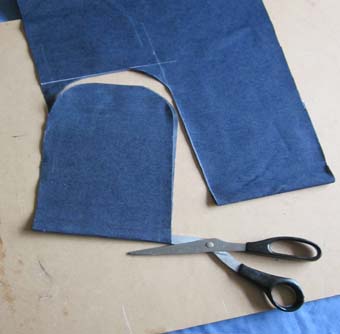 |
Cut out the outer shape through both thickness of material, then cut the folded edge. |

Choose one panel of the skirt to be the front and carefully put the other panel in a safe place so that you do not mix them up.
|
Note about locking sewing machine stitches: When beginning and ending a line of stitches, it is usual practice to reverse the machine feed and sew back over the end few stitches, so as to lock them in place and prevent them from unravelling. In this pattern it is often the case that one line of stitches is to be later crossed by another one, so the locking process is not necessary. When locking is required, the text will specify it, otherwise there is no need to do it. For all the straight stitching, except tacking, a setting of 12 to 15 stitches per inch 5 to 6 stitches per cm will give good results. For zig-zag stitching to prevent fraying, at least 15 stitches per inch 6 stitches per cm should be used. |
|
|
|
|
|
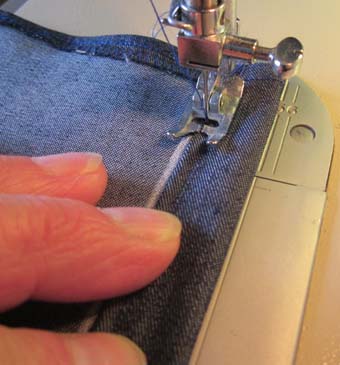
Place one of the pocket pieces, Wrong side up, in the sewing machine. Fold over one of the long edges about 3/8" 9.5mm and stitch down the fold.
Continue stitching around both curves and back up the other long side. Stretch the material as you sew around the curves, so as to minimise creasing. |
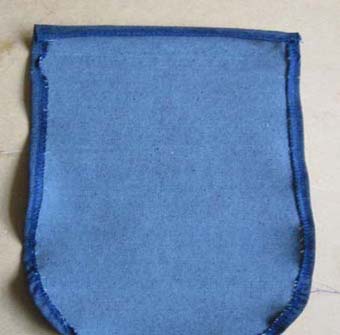 |
Fold over the top edge and stitch that down.
|
 |
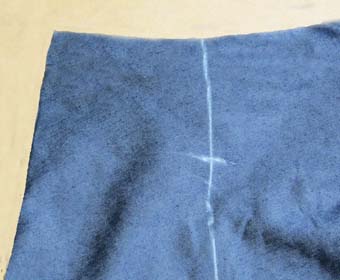
Chalk a line 1.5" 38mm below the top edge of the pocket.. |
 |
Fold down the top edge until it meets the ckalked mark, then sew the edge down. |
 |
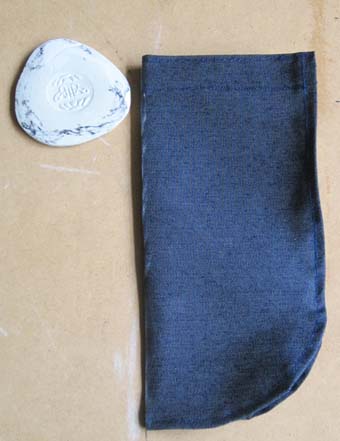
Press the top fold into a sharp crease and sew it down, beginning 1/2" 12mm from one end and sewing backwards to lock the stitches, then continuing forwards along the crease. Finally lock the end of the stitching line by sewing backwards again for 1/2" 12mm. |
|
|
|
 |
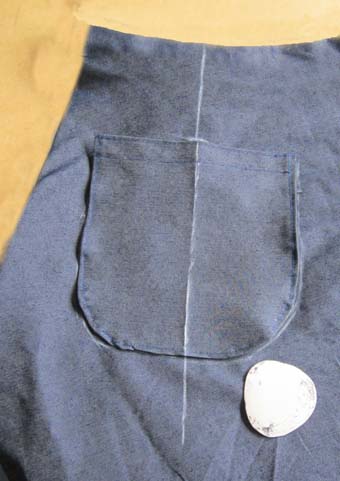
Take the front panel of the skirt and lay it out flat, Right side up. Chalk a line 4" 10cm from one of the seam edges and at right angles to the waist line where it meets it (the line will not be exactly parallel to the seam).
Chalk a mark across this line about 3" 8cm below the waistband edge of the panel to indicate the position of the top edge of the pocket. |
 |
Fold the pocket in half lengthways, Wrong side to wrong side, and mark the centre line with chalk. |
|
|
Lay the pocket, Right side up, onto the Right side of the skirt panel. Align the centre line of the pocket with the line on the skirt panel and adjust its position until the top edge of the pocket is level with the chalk mark.
Chalk the outline of the pocket onto the skirt panel. |
|
|
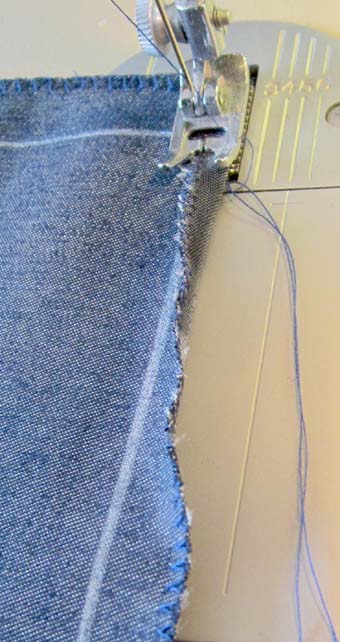
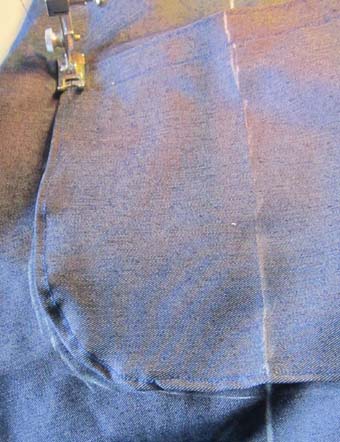
Sew the pocket to the skirt panel, making sure it aligns with the chalked outline. Begin sewing 1/2" 12mm below the end of one of the long sides by sewing backwards to lock the stitches, then continue forwards along the edger and around both curves. Continue up the other long side and then lock the end of the stitching line by sewing backwards again for 1/2" 12mm.
Do not mistakenly sew the top of the pocket shut. |
Repeat this process for the other front pocket and a back pocket if one is required.
THIS COMPLETES FITTING THE POCKETS TO THE FRONT PANEL
|
Do you want the zip in the side seam or at the front? |
|
|
|