|
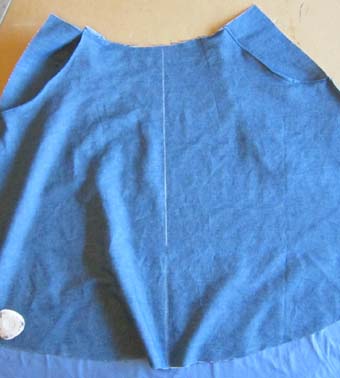
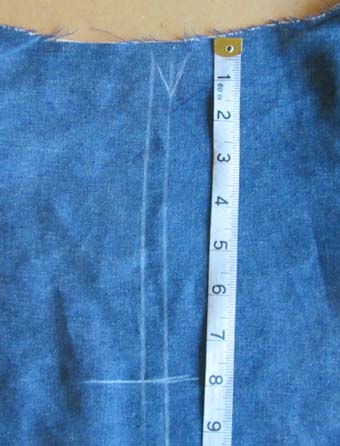
Chalk a second vertical line 1/2"
12mm to the right of the center
line. This will be the cutting line
|
|
Chalk an arrowhead on the cutting line, to make sure it
does not become confused with the centre line.
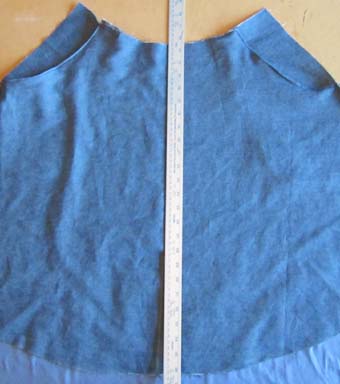
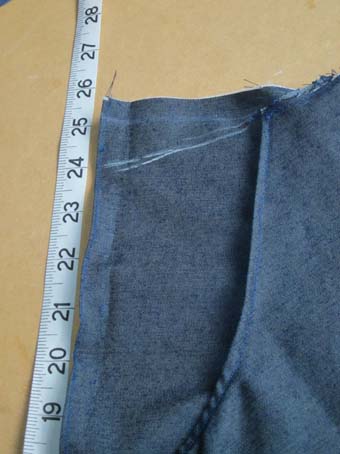
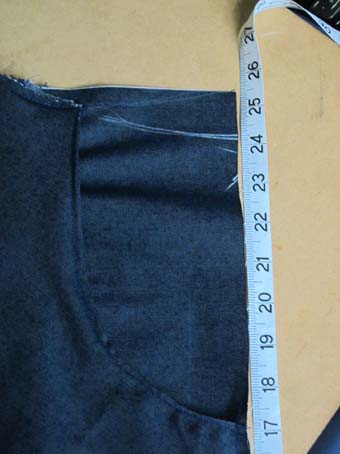
Measure down 8" 20cm from
the waistband edge and draw a horizontal line acrross both
lines.
|
|
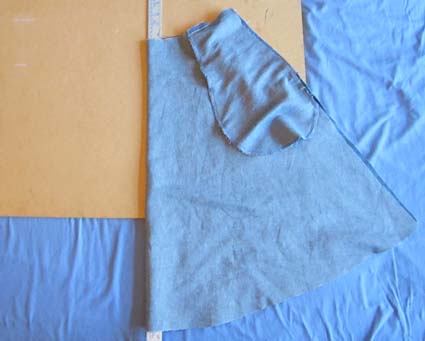
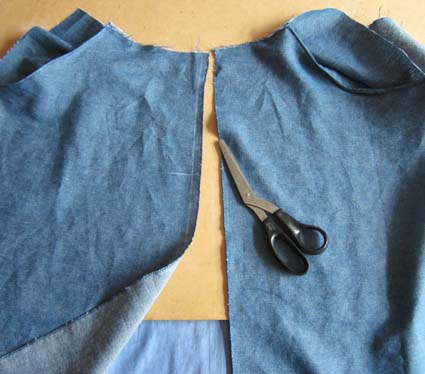
Take a deep breath, re-check that you have correctly
identified the cutting line, then cut the front panel in
half along the cutting line.
|
|
Zig-zag stitch both newly-cut edges to prevent them
from fraying.
|
|
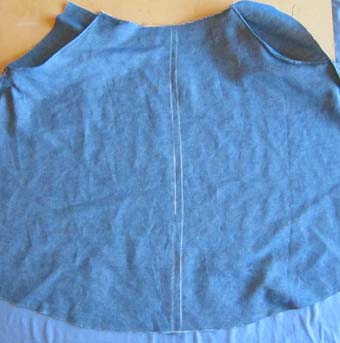
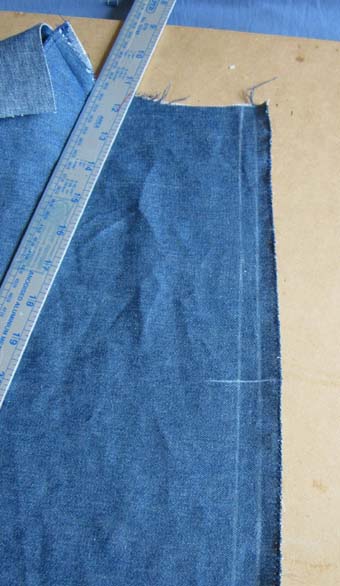
Lay out the panel which has the centre line (line 'C')
chalked on it and chalk another line 1/2"
12mm to the left of the centre
line. This will be the folding line.
|
|
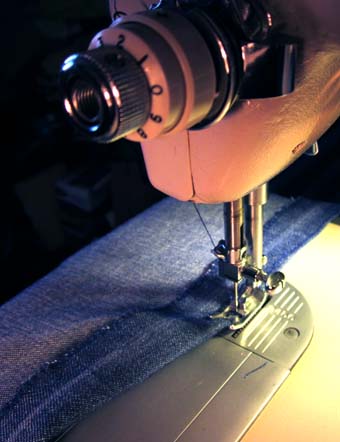
Fold the panel edge, Wrong side to Wrong side so that the
crease comes on the folding line. Stitch down the crease
with straight stitches about 15 per inch
7 per cm.
|
|
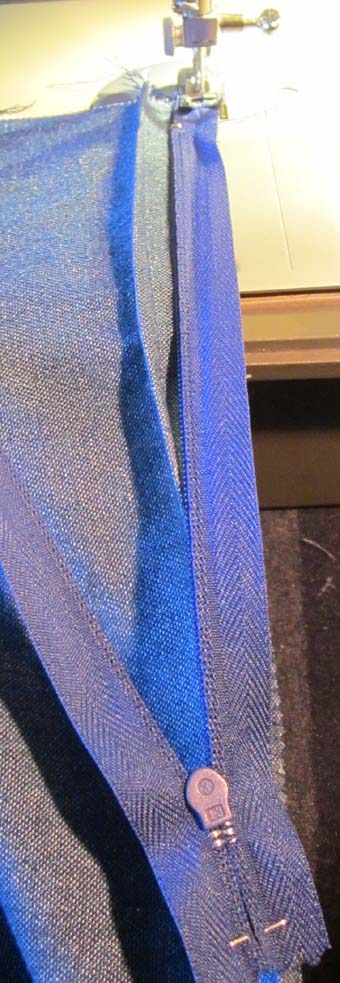
This is how you want the two halves of
the zip to finish up:
|

|
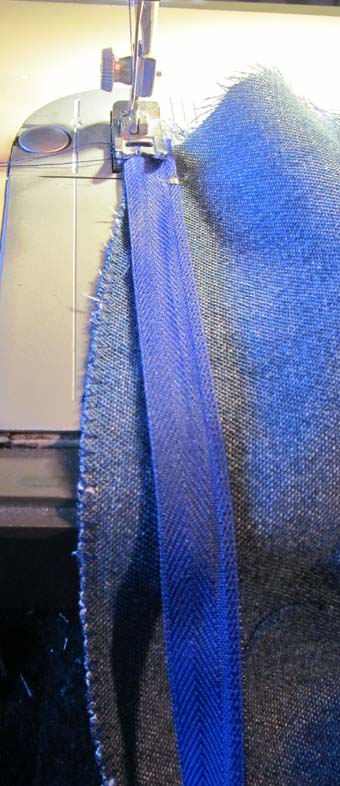
Open out the folded edge and put the waistband end of it
in the sewing machine, Right side up.
Unzip the zip and lay it along the zig-zag stitched edge
with the puller tab side facing the material. Align it so
that the top of the zip is level with the waistline edge of
the material and the right hand side of the zip
fabric aligns with the zig-zag stitched edge.
As a further check, note that the bottom of the zip is
somewhere near the horizontal chalk mark (if it isn't, you
may have aligned it with the hem, not the waistband).
|
|
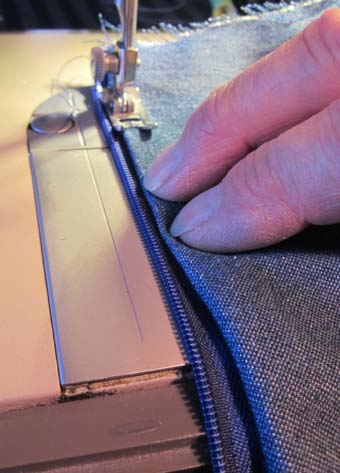
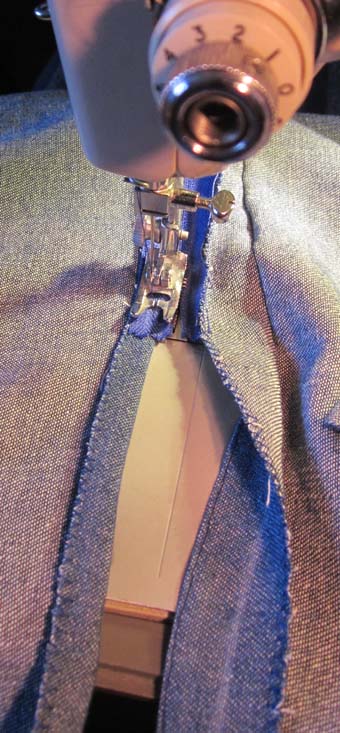
Begin stitching the right hand edge of the zip fabric on
top of the zig-zag stitching with
straight stitches - but stop half
way along the zip. Ensure that the sewing machine needle
is in the down position, then lift the presser foot.. Slide
the zip runner up the zip, past the presser foot, so as to
close the zip.
Lower the presser foot and continue
sewing to the bottom end of the zip, then backstitch to lock
the stitches.
|
|
In a similar way, put the waistband end
of the second half of the front panel in the sewing machine,
Right side up.
Unzip the zip again and lay the unattached half along the
zig-zag stitched edge with the puller tab side facing the
material. Align it so that the top of the zip is level with
the waistline edge of the material and the left hand
side of the zip fabric aligns with the zig-zag stitched
edge.
Again check, note that the bottom of the zip is somewhere
near the horizontal chalk mark (if it isn't, you may have
aligned it with the hem, not the waistband).
Begin stitching the lefthand edge of the zip fabric on
top of the zig-zag stitching with straight
stitches
- but stop half way along
the zip. Ensure that the sewing machine needle is in the
down position, then lift the presser foot.. Slide the zip
runner up the zip, past the presser foot, so as to close the
zip. It will be more difficult this time because there is
half a panel attached to the other side of the zip.
Check that no folds of material are
caught where they might be stitched by accident, then lower
the presser foot and continue sewing to the bottom end of
the zip.
|
|
With the zip open, turn the material Right side up and
put the waistband edge in the sewing machine. Tuck the right
hand side of the zip under the edge of the material to form
a fold which can be pressed down by hand to give a crease.
There should be just enough room between the crease and the
teeth of the zip to allow the zip runner to slide without
touching the edge of the crease.
Stitch down the crease for half the length of the zip,
then move the runner past the presser foot and continue
stitching to the bottom of the zip.
|
|
With the zip closed, turn the panels over so that the
Wrong side is uppermost.
Find where the previous line of stitches ended, overlap
the last few stitches with some new ones and then continue
stitching in the same direction as before towards the hem.
Where the edge of the material emerges from under the zip
fabric, it will be folded about 1/4"
6mm wide Wrong side to Wrong
side, Keep this fold the same width all the way to the hem,
holding it in place as it is stitched so as to produce a
sharp creased edge
|
|
With the zip closed, put the waistband of the material in
the sewing machine Right side up. Pull the creased edge of
the right hand panel over the zip so as to form a flap which
covers the zip teeth. Position the bottom of the zip, where
the horizontal chalk mark crosses the creased edge, directly
underneath the needle of the machine. Adjust the position of
the left hand panel until both chalk marks coincide, then
lower the machine needle to trap the panels in this
position.
With the presser foot raised, rotate the panels around
the needle in a clockwise direction until the zip lies along
the bed of the machine. Set the machine for reverse
stitching and lower the presser foot. Sew a line of stitches
across the foot of the zip for about 3/4"
22mm (you
will have to feel where the zip is, through the
material), then set the machine to the normal
direction of travel and stitch forwards over the same line.
This double line of stitches gives extra strength to hold
the panels together if they are strained apart with the zip
open.

|
|
With the needle down, raise the presser foot and turn the
fabric on the needle so as to continue stitching towards the
hem.
Overlapping the panel edges by about 1/4"
6mm, stitch them together for
the rest of their length, keeping the stitching line close
to the edge (on top of an existing line of stitches).
Be careful not to snag folds of the material underneath
when stitching.
|
|
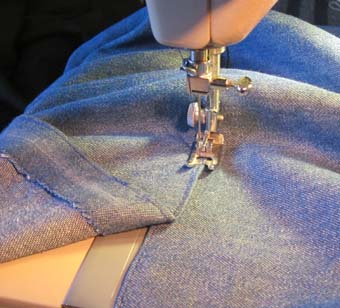
Place the panel Wrong side up in the sewing machine with
the bottom of the zip near the needle. Run a line of
stitches down the creased edge of the panel which is on the
left side, starting with the first few stitches on the
bottom of the zip fabric.
|