----
EASY-TO-MAKE
'A'-LINE SKIRT
TURNING THE HEM OF A SKIRT
|
Whilst every attempt has been made to ensure that the information on this site is accurate, no responsibility can be accepted for errors. You follow these instructions at your own risk. |
Throughout this section, the version of the skirt with scalloped pocket is used for illustration purposes, these zip instructions will work equally well with the patch pocket version.
The simple technique shown here is adequate for informal skirts made of denim, a slightly more difficult alternative is shown for more formal skirts in a different material.
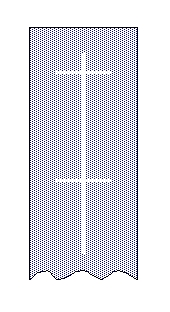
TRIMMING THE HEM TO SHAPE
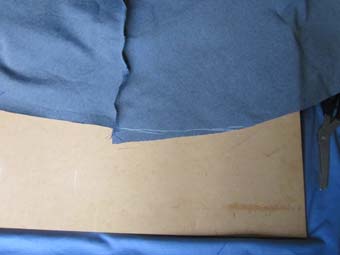 |
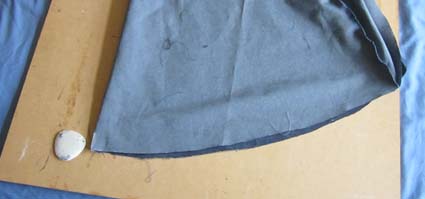
Lay out the skirt panels, right side up, and check that the hemline forms a smooth curve across the joints in the panels. If it does not, chalk a suitable curve on the material. |
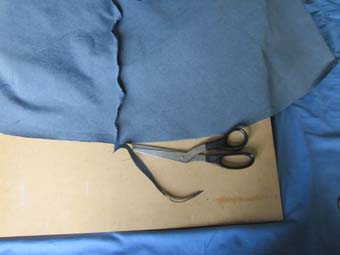 |
Carefully cut along the chalked line, removing any excess material to give a smooth curve. |
|
|
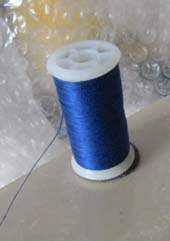
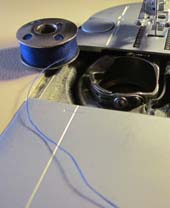
Sewing the hem will use a lot of thread, make sure there is sufficient thread in the sewing machine before starting. Check both the top thread spool and the bobbin. |
|
|
|
||
|
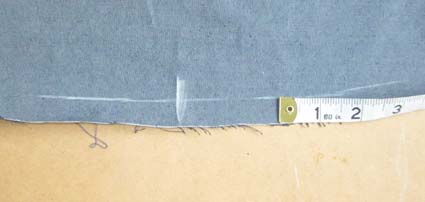
You may want to mark this distance along the whole length of the hem edge, or you may feel confident enough to maintain the correct distance by eye when you come to stitch the hem. |
||
|
|
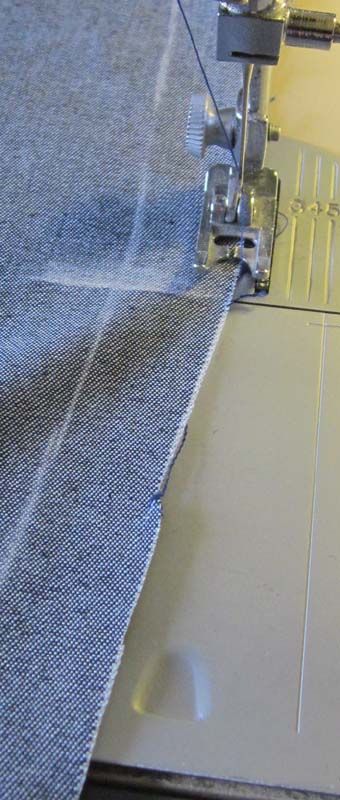
Put the material in the sewing machine Wrong side up, and locate the back centre mark. Sew the raw edge all around the hem with a zig-zag stitch, beginning a short distance before the centre marker and ending a short distance after it. |
|
|
|
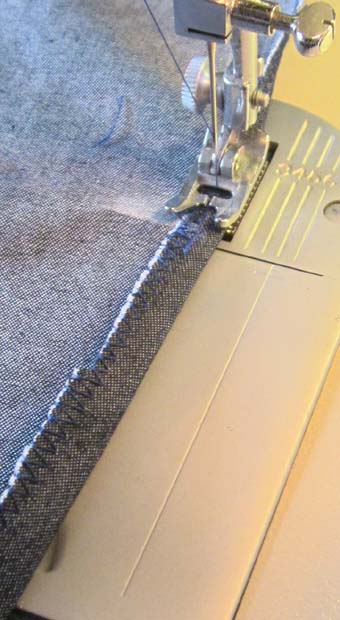
Locate the back centre mark and fold over the hem edge as shown, Wrong side to Wrong side, until the stitched edge meets the chalked line.
Sew down the fold(s) with a line of straight stitches. To keep the fold(s) flat and straight, stretch the material as it goes through the machine. |
|
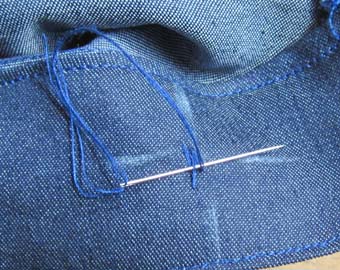
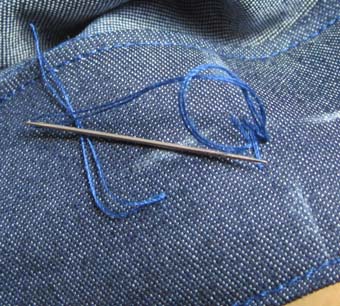
Trim off any loose ends of cotton.
THIS COMPLETES TURNING THE HEM
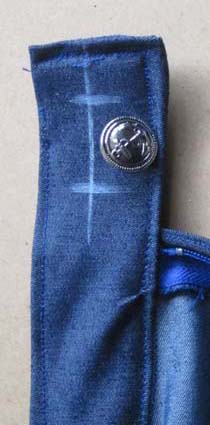
ADDING A BUTTONHOLE AND BUTTON
What you are trying to do:
Mark out the centre line and ends of the button hole on the waistband flap using tailor's chalk, then lay down a pattern of zig-zag stitches . Cut a slot for the button along the centre line, the pattern of stitching will prevent the edges of the hole from fraying.
 |
Mark out a centre line on the waistband flap and add two cross lines spaced by about the diameter of the button plus half as much again. This will give the correct size for the button hole. |
 |
Sew a pile of zig-zag stitches across the centre line at one end of the pattern. The machine should be set for maximum zig-zag and very little, if any, stitch spacing. |
 |
Set the machine for half-width zig-zag and use the needle position control to move the needle fully to the right. Sew a pattern with fine stitch spacing just to the right of the centre line. |
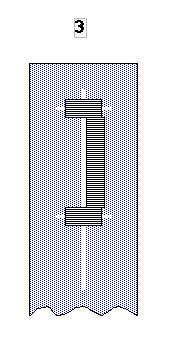 |
Return the settings to maximum zig-zag width, centered needle and very little stitch spacing. Sew another pile of zig-zag stitches across the other end of the pattern. |
 |
Set the machine for half-width zig-zag and use the needle position control to move the needle fully to the left. Sew a pattern in reverse with fine stitch spacing just to the left of the centre line. |
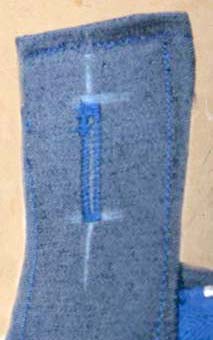 |
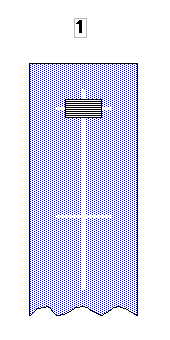
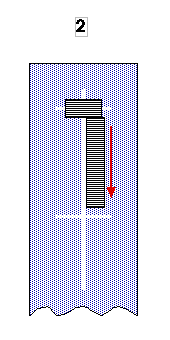
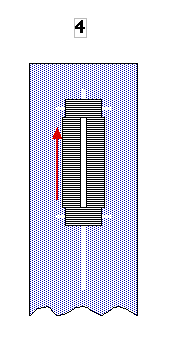
This is what the patterns should look like. |
|
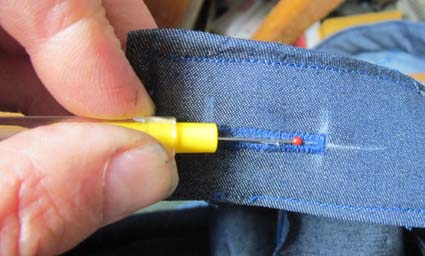
With a sharp knife or a stitch 'ripper', cut a slot right through all the layers of material and petersham along the centre line. Be extremely careful not to cut or nick any of the stitches.
Cut off any loose or frayed thread ends. |
|
|
The pull of the button in the buttonhole slot takes the tension of the waistband off the zip, it also prevents the flap over the zip from gaping. This means that the button must be located at the end of the slot furthest from the zip, so as to exert the necessary pull. |
|
ATTACHING THE BUTTON
|
|
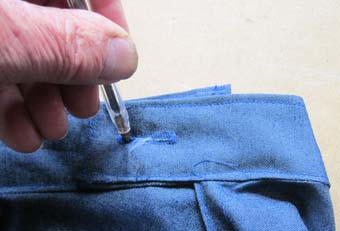
Close the zip and lay out the skirt so that the waistband flap is correctly positioned to pull the zip squarely and firmly closed, then push a ball-point pen through the end of the buttonhole furthest from the zip and make a mark on the material beneath. This marks where the button has to be fixed. |
|
|
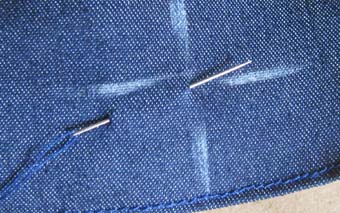
Push a sewing needle through the belt material from the button mark on the outside. Mark the inside to show where the button will be. |
|
|
Cut a piece of thread about 3ft 1m long and thread it through the eye of the needle, pulling the ends together to double it up into a loop. Push the needle under the inside fabric a short distance from the button fixing point. Slide it along under the fabric and push it out again at the button fixing point. Pull the thread through until only a short length is hanging out of the original entry point. |
|
|
Make a stitch at the button fixing point and pass the needle through the loop of thread to form a knot. Do this twice. |
|
|
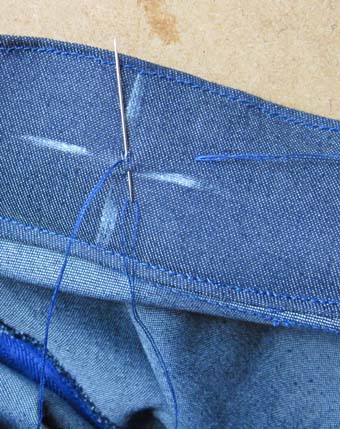
Push the needle through to the outside, then take it through the button eye and back to the inside (This may vary according to the type of button and the fixing arrangements). Pull the thread through but leave some slack so that the button is not pulled down tightly onto the fabric.
Continue stitching through the fabric, through the button eye and back through the fabric 5 or 6 times. Finish up with the needle on the outside next to the button. |
|
|
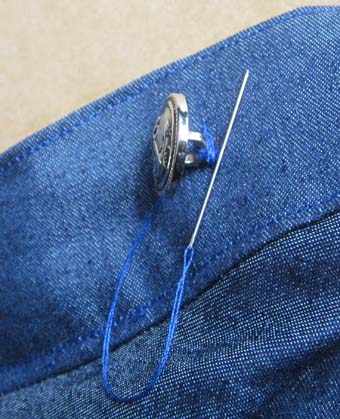
Wrap the spare thread around the bundle of threads which hold the button onto the fabric. Do this many times until a solid 'tail' is formed.
Push the needle crossways through the 'tail' at least twice, then push it through to the inside. |
|
|
Stitch several times through some of the threads visible on the inside... |
|
|
...making a knot at each stitch and pulling it tight. |
|
Finally, run the needle under the fabric from the button-sewing area so that it emerges a short distance away. Pull both sets of loose threads gently and cut them off close to the fabric. The ends should slip into the fabric and become lost from view. |
|


THE SKIRT IS NOW COMPLETE