----
EASY-TO-MAKE
'A'-LINE SKIRT
FITTING A SIDE ZIP
Click here if you want a front zip
|
Whilst every attempt has been made to ensure that the information on this site is accurate, no responsibility can be accepted for errors. You follow these instructions at your own risk. |
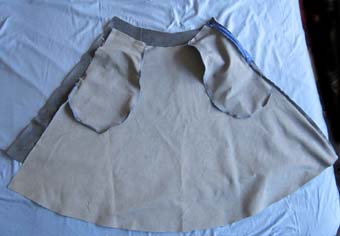
Throughout this section, the version of the skirt with scalloped pockets is used for illustration purposes, most of these zip instructions also apply to the patch pocket version, but any variations will be noted.
You should now have:
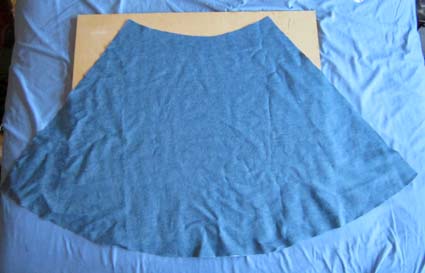
One plain back panel

One front panel with two pockets (either scalloped or patch)

One waistband

|
|
|
|
|
|
 |
 |
|
|
|
 |
|
Next, one side of the zip has to be attached to the back panel.
 |
(Back panel)
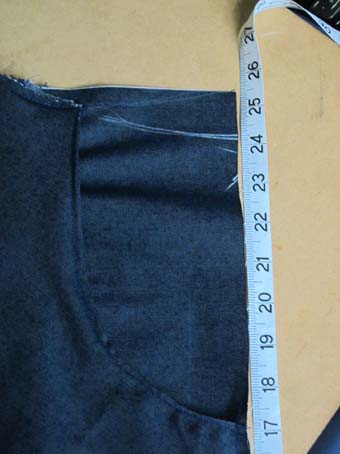
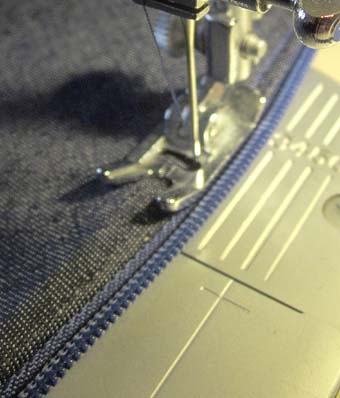
Put the waistband end of the back panel in the sewing machine, Right side up. Unzip the zip again and lay the unattached half along the zig-zag stitched edge of the back panel,with the puller tab side facing the material. Align it so that the top of the zip is level with the waistline edge of the material and the toothless side of the zip fabric aligns with the zig-zag stitched edge. Check that the bottom of the zip is somewhere near the horizontal chalk mark (if it isn't, you may have aligned it with the hem, not the waistband).
Begin stitching the edge of the zip fabric on top of the zig-zag stitching with straight stitches - but stop half way along the zip. Ensure that the sewing machine needle is in the down position, then lift the presser foot.. Slide the zip runner up the zip, past the presser foot, so as to close the zip. Lower the presser foot and continue sewing to the bottom end of the zip. |
|
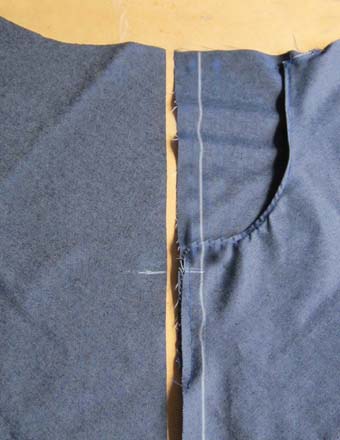
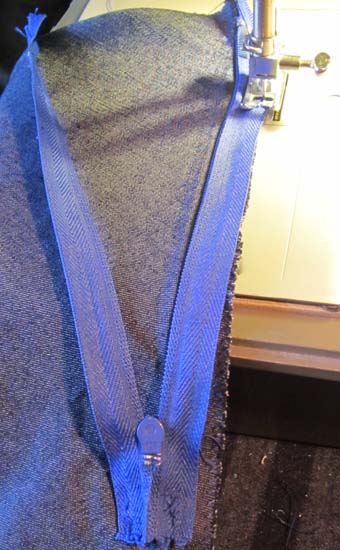
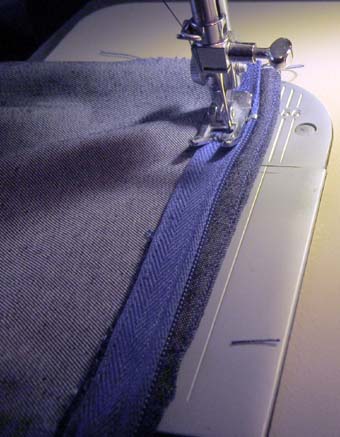
With the zip open, keep the material Right side up and put the waistband edge in the sewing machine. Tuck the right hand side of the zip under the edge of the material to form a fold which can be pressed down by hand to give a crease. There should be just enough room between the crease and the teeth of the zip to allow the zip runner to slide without touching the edge of the crease. This is what you are trying to achieve with the edge of the back panel:
|
|
|
|
(Back panel)
Stitch down the crease for half the length of the zip, then stop. Ensure that the sewing machine needle is in the down position, then lift the presser foot. Slide the zip runner up the zip, past the presser foot, so as to close the zip.Lower the presser foot and continue sewing just past the bottom end of the zip. |
 |
Turn the panel Wrong side up and continue the line of stitching, beginning with a few stitches overlapping the previous ones. Hold the edge of the material in a fold as shown and use the stitching to give a sharp creased edge. Continue the stitching down to the hem line.
|
The second side of the zip now has to be attached to the front panel.
 |
(Front Panel)
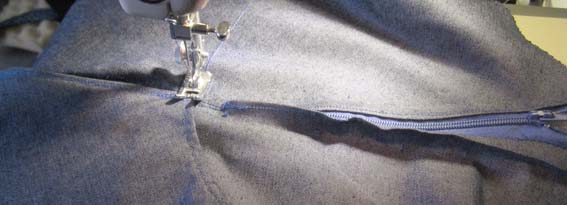
Open out the folded edge of the front panel and put the waistband end of it in the sewing machine, Right side up. Open the zip and lay it along the zig-zag stitched edge with the puller tab side facing the material. Align it so that the top of the zip is level with the waistline edge of the material and the left hand side of the zip fabric aligns with the zig-zag stitched edge. As a further check, note that the bottom of the zip is somewhere near the horizontal chalk mark (if it isn't, you may have aligned it with the hem, not the waistband). Begin stitching the toothless edge of the zip fabric on top of the zig-zag stitching - but stop half way along the zip. Ensure that the sewing machine needle is in the down position, then lift the presser foot.. Slide the zip runner up the zip, past the presser foot, so as to close the zip. This will be more difficult because the back panel is attached to the zip. Be careful not to catch any stray folds of material in the stitching. Lower the presser foot and continue sewing to the bottom end of the zip, then backstitch to lock the stitches.
|
|
|
|
 |
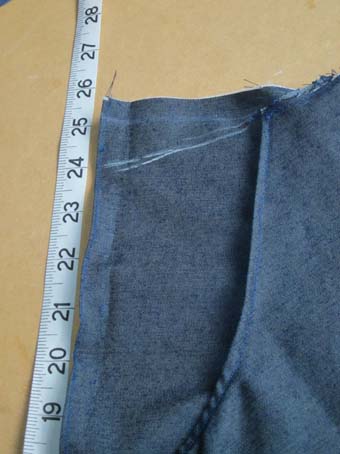
Turn the material and contimue stitching towards the hem line. The edge of the front panel should overlap the edge of the back panel by about 1/4" 6mm. |
|
This is what you are trying to achieve with the edge of the front panel:
|
|
 |
(Front Panel)
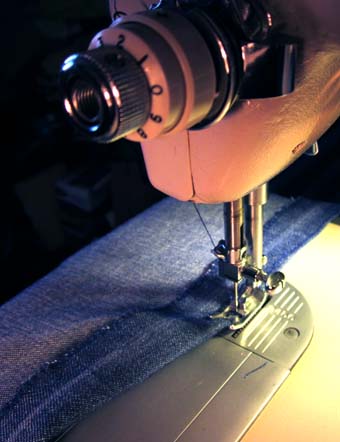
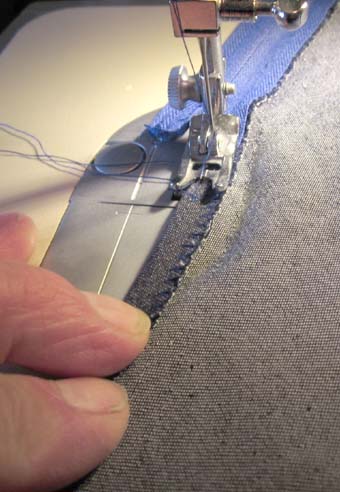
With the material Wrong side up, open the zip and place the waistband edge of the front panel in the sewing machine as shown. Position the teeth of the zip against the side of the presser foot and move the needle as close to the teeth as the machine will allow (using the needle positioning mechanism ).
Begin stitching the zip fabric on top of the double-thickness folded edge of the front panel - but stop half way along the zip. Ensure that the sewing machine needle is in the down position, then lift the presser foot.. Slide the zip runner up the zip, past the presser foot, so as to close the zip. Lower the presser foot and continue sewing past the bottom end of the zip. Continue the line of stitching to the hemline, following the folded edge of the front panel and attaching it to the back panel about 1/4" 6mm from the previous row of stitches. |
THIS COMPLETES FITTING THE ZIP
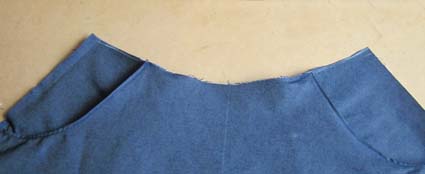
Lay out the two panels, Right side to Right side.
Carefully align the two straight side-seam edges of the
panels at the waistband end and along their length. If they
do not quite match at the hemline end, this does not matter
at this stage.
Sew the panels together with a line of stitches about
3/8" 10mm from the edge,
starting from the waistband end. Once the line of stitching
has passed the pockets, it may be possible to overcome any
misalignment in the hemline positions by gently stretching
one of the panels.
Sew a second line of stitches between the firat line and
the raw edge. Sew a zig-zag stitch over the raw edge to
prevent fraying.

THIS COMPLETES THE SKIRT PANELS